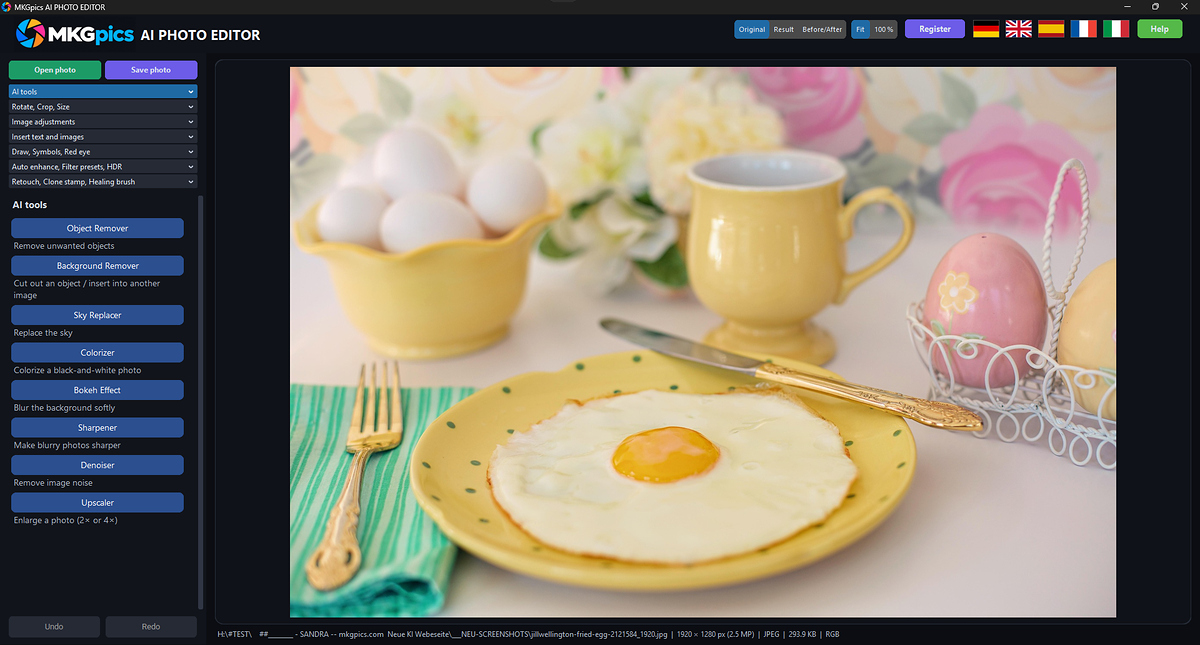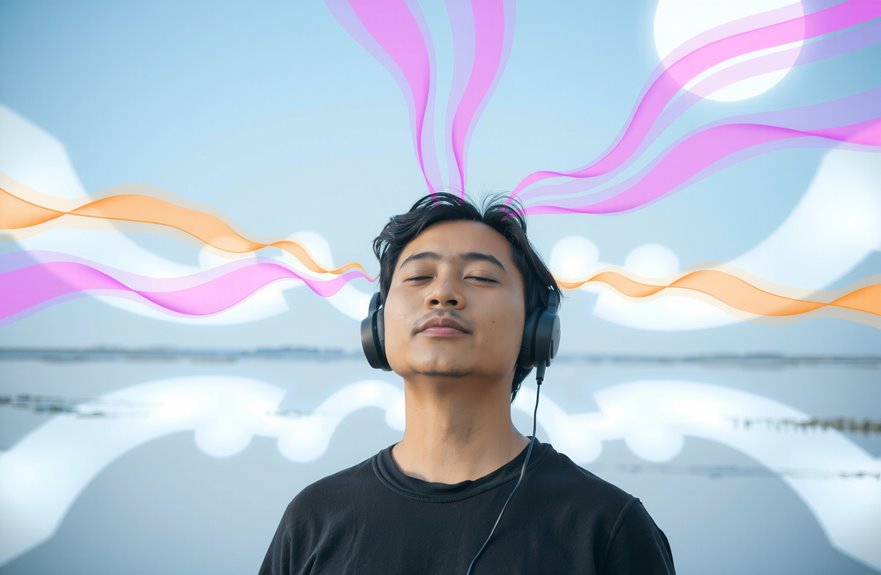

A sharp main subject in front of a softly blurred background can make a photo feel calmer and draw more attention to the person or object in the foreground. This look is usually created during shooting through aperture, focal length, and the distance between subject and surroundings, but those conditions are not always available once a photo has already been taken.
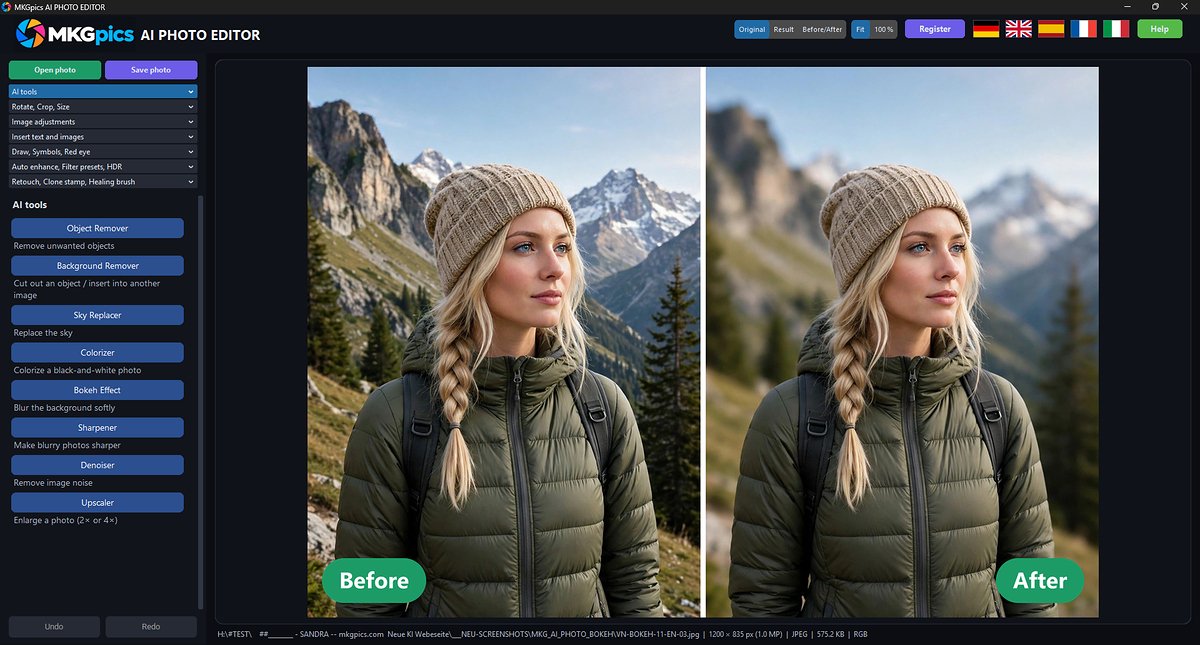
MKGPics AI PHOTO BOKEH can calculate an additional version of an existing image with depth-based background blur. The spatial structure of the photo is analyzed first, after which the desired focus point is selected in the image. The processing then follows this depth information and can blur different distance levels by different amounts.
The AI photo editing software works with individual photos and is not designed for batch processing. After opening an image, the area that should define the later sharpness impression is selected with a mouse click. Controls for blur strength, sharp range, highlights, and depth resolution are then available. The background effect can therefore be adjusted step by step to match the subject, distance, and composition before the effect is calculated. The original and processed version can then be viewed separately so that differences in outlines, background structures, and light points can be checked.
Blur the Background and Emphasize the Main Subject
Detailed backgrounds can compete strongly with the main subject in portraits and object photos. Plants, furniture, buildings, vehicles, and other structures attract attention even when the visual emphasis of the image should be on a person or a specific object. A softer rendering of the background changes this balance and makes more distant areas recede visually. The main subject can remain within the selected sharp zone while the surroundings become less dominant. This creates a second version of the photo with stronger spatial separation than the original image.
Blur strength can be adjusted from 0 to 100 percent and can therefore be matched to very different photographs. Lower values retain a large amount of background structure and work well for restrained editing, while higher values create a much softer environment. A photo with a distant background may respond more naturally to strong blur than an image where the subject and surroundings are close together. For that reason, the intensity should be judged in relation to the actual spatial layout of the image. Several settings can be tested before the preferred version is saved.
Set the Focus Point in the Photo with a Mouse Click
After loading the photo, the area that should serve as the spatial reference for sharpness is clicked. In a portrait this may be the face, in an animal photo the head, in a flower image the center of the bloom, and in a product photo the main object. The depth detected at this position becomes the basis for the later distribution of sharpness and blur. The click therefore does more than mark a position in the image. It determines which spatial level in the photograph is used as the starting point for processing.
A different focus point can change the character of the result considerably when several subjects are positioned at different distances. With two people standing one behind the other, for example, either the person in front or the more distant person can be selected as the reference. The same applies to object photos containing several items on separate depth levels. Choosing a new point changes the assignment of the sharp zone without altering the source image. The same photo can therefore be recalculated with different spatial priorities and compared afterward.
Blur a Portrait Background After the Photo Was Taken
Many portraits are taken with a background that appears sharper than it would in a classic image shot with a wide aperture. This can happen with smartphone photos, older cameras, smaller sensors, or photographs taken with greater depth of field. Post-processing can create an additional version with a softer background. The focus point is placed on the person while more distant image regions can transition further into blur. The person remains the main visual reference even when the original photo was captured with nearly continuous sharpness.
For portraits, the sharp range is just as important as blur strength because a person does not form a flat plane. Face, hair, shoulders, and clothing occupy slightly different positions in depth and should be considered accordingly. A very narrow sharp range can cause parts of the person to become soft too early, while a wider value can keep more of the subject inside the preserved zone. The difference can be checked in the result view. The original remains available as the starting version and can be restored at any time if another setting should be tested.
Bokeh Effect with Adjustable Blur Strength
The blur control determines how strongly image areas outside the selected sharp zone are softened. A low setting changes the surroundings only slightly and leaves many details recognizable. As the value increases, structures become progressively softer so that the main subject can stand out more strongly from the background. The result depends on the actual distances and textures in the image. A calm background behaves differently from a scene containing branches, building edges, lettering, furniture, or many small visual elements.
A strong bokeh look is not automatically the best version for every photograph. If the background is only a short distance behind the main subject, very heavy blur can appear artificial more quickly than in a scene with a large separation between subject and surroundings. A distant background can tolerate stronger softness without immediately losing spatial plausibility. It is therefore useful to compare several intensities with the same focus point. The preview shows how strongly the current setting differs from the source image after each calculation.
Adjust the Sharp Range to the Photo
The sharp range determines how far the preserved depth zone extends around the selected focus point. A low value keeps this zone narrow, while a higher setting includes more spatial depth around the subject. This function operates independently of blur strength and therefore controls a different part of the image effect. The sharp range is especially important when the main subject itself spans several depth levels. Groups, animals, larger objects, or people standing at an angle to the camera are typical examples.
In a group photo, heads and bodies may be positioned at slightly different distances even though they should be perceived as one sharp subject. A range that is too narrow can push individual parts into blur too quickly. A wider range can keep more of the group inside the same sharp zone. With a small single subject, on the other hand, a narrower setting can emphasize the separation from the surroundings more strongly. The appropriate width should therefore be judged according to the actual spatial depth of the subject.
AI Photo Editing Software with Depth Calculation
Before the bokeh effect is calculated, depth information is generated from the photo. This analysis is used to distinguish image regions according to their estimated spatial position instead of treating every background pixel the same way. The previously selected focus point connects the calculated depth structure with the desired sharpness level. Areas at a similar distance can remain more defined, while more distant regions can become progressively softer. This spatial gradation forms the basis of the background processing.
A traditional blur filter works differently because it does not need a spatial interpretation of the photographed scene. A selected area can simply be softened regardless of whether an object lies just behind the subject or far away in the background. Depth calculation, by contrast, distinguishes several distance levels within the same image. Blur can therefore be distributed across the scene instead of applying the same intensity everywhere. Photos with foreground, main subject, and a more distant background show this difference most clearly.
Adjust the Depth Resolution for the Calculation
The resolution of the depth analysis can be changed before the effect is applied. A recommended setting and a higher quality setting are also available. A higher depth resolution can include more image information when analyzing complex contours and smaller structures, although it requires more processing work. This setting affects depth detection rather than the original resolution of the opened photo. It should therefore be understood as a parameter for spatial analysis.
For a simple subject in front of a large calm surface, the recommended level may already produce convincing results. Hair, branches, fences, railings, or several closely spaced objects place greater demands on the separation of individual depth levels. Such photos can be recalculated at a higher depth resolution and then compared with the previous version. The comparison shows whether the transitions around the subject change. This makes it possible to choose the setting according to the structure of the source image.
Strengthen Highlights in the Bokeh
Bright points behave differently in a blurred background than evenly lit surfaces and are an important part of many typical bokeh photographs. Streetlights, fairy lights, reflections, illuminated windows, or small light sources can become larger, softer light shapes after blurring. The program includes a separate highlights control for these image areas. It changes the weighting of bright regions within the bokeh calculation. This can further alter the character of photos that contain noticeable background lighting.
In daylight images without individual bright points, the effect of this setting is naturally smaller. Evening portraits, indoor photographs with decorative lighting, or photos taken in front of string lights can react much more strongly to changes in the highlights setting. The control does not alter the entire background in the same way but mainly affects existing bright areas. It should therefore be evaluated according to the actual subject and light sources present in the image. The result can then be compared with the original in the result view.
Add Bokeh to Existing Photos Afterward
A photograph does not need to have been taken with shallow depth of field to receive a second version with bokeh later. The original camera settings remain unchanged, but the saved image can be recalculated with stronger separation between depth levels. This can be useful for older photos, smartphone images, or photographs with nearly continuous sharpness. The new appearance is created from the depth information detected in the image and the selected focus point. The original photo remains independent of this processing.
This type of editing does not replace a real optical capture with a wide aperture because the original lighting and lens characteristics cannot be changed afterward. Instead, it creates an additional interpretation of the existing image file. This makes it possible to explore how the same scene might look with stronger spatial separation. The result can be saved separately and used alongside the original later. The source image and processed version therefore remain clearly separated from each other.
Edit Portraits with a Softer Background Look
In portraits, the transitions between the person and the background deserve additional attention. Hair, shoulders, clothing, and fine outlines form areas where strong depth separation can become more noticeable than on large smooth surfaces. Blur strength should therefore not be chosen solely according to the appearance of the background. The sharp range also affects how much of the person remains inside the preserved zone. Comparing the result with the original helps evaluate these transitions before saving.
A restrained setting may already be sufficient for family photos, travel images, or spontaneous portraits where the surroundings simply need to appear less dominant. With a distant background, stronger blur can create a much more pronounced portrait look. The decisive factor is the spatial situation in the source image. The program does not permanently change the original photo as long as the result is saved as a separate file. Several versions with different settings can therefore be tested and compared later.
Show Objects with a Blurred Background
Depth-based blur is not limited to people. Plants, food, vehicles, collectibles, decorations, or other objects can also be selected as the sharp subject. The focus point is placed on a defining part of the object while the more distant surroundings can be rendered more softly. This changes the visual emphasis within the photo without cutting out the object or placing it against another background. The existing subject remains part of the same image.
With a deep three-dimensional object, the sharp range should be set wide enough so that the front and back are not treated too differently. With smaller objects, a narrower zone can emphasize the distance from the surroundings more strongly. The result also depends on how far the background appears to be from the main subject. Focus point, sharp range, and blur strength can therefore be adjusted to the shape and depth of the object. Detail images will usually require different settings from large subjects.
Compare Original and Result
The interface contains separate views for the original and the result so that both versions can be compared during editing. Switching between them helps assess changes in background structures, subject outlines, and light points. With strong blur, the differences are immediately obvious, while restrained settings may only become noticeable through direct comparison. Fine transitions around hair, branches, or small objects can also be judged more easily this way. The source image remains available as an unchanged reference throughout the process.
If the calculated version does not fit the subject, the original can be restored. Focus point, blur strength, sharp range, highlights, or depth resolution can then be changed. The already opened photo does not need to be selected again. Several versions can be calculated one after another until the preferred appearance is reached. Only after that does the user decide which version should be saved as a new file.
Save the Bokeh Photo as PNG, JPG, or WebP
After calculation, the processed version can be saved as PNG, JPG, or WebP. The source file does not need to be overwritten and can remain unchanged in its existing folder. The newly created image receives its own filename and can therefore be archived or edited separately. Original and bokeh version can remain available side by side. Several variations of the same photo can also be saved under different filenames.
JPG works well for traditional photo collections, digital albums, and many websites. PNG can be used when the image will be edited again later or when another round of JPG compression should be avoided. WebP is another option for digital image output. The preferred format is selected during saving and can be changed again for the next photo. Output therefore remains independent of the bokeh settings used during processing.
Blur the Background with Attention to Spatial Depth
Uniform blur does not distinguish between an object immediately behind the main subject and a background that is much farther away. Depth-based processing, on the other hand, works with the spatial position of the detected image areas. Several distance levels can therefore receive different degrees of blur even when they all belong to the background. This difference is easier to see in photographs with a strongly layered composition. Foreground, main subject, and background can then be treated differently.
The selected sharp range defines which part around the chosen depth remains more intact. Blur strength then determines how softly more distant regions are rendered. With several layers, this can create a gradual transition instead of applying the same blur intensity across the complete background. The final effect always depends on the available structures and the calculated depth information. Photos with clear spatial layering therefore produce a different result from scenes that appear almost flat.
Functions for Bokeh and Background Blur
- AI-assisted depth calculation for individual photos
- Set the focus point by clicking in the image
- Adjust blur strength from 0 to 100 percent
- Adjust the sharp range from 0 to 100 percent
- Change highlights from 0 to 100 percent
- Adjust depth resolution
- Select recommended and higher quality settings
- Apply a bokeh effect to existing photos
- View original and result
- Return to the original photo
- View progress during calculation
- Save the result as PNG
- Save the result as JPG
- Save the result as WebP
Edit Photos with Background Blur Afterward
MKGPics AI PHOTO BOKEH combines the main steps for depth-based blur within a single-photo workflow. After opening the image, the desired focus point is selected first, followed by adjustments to the sharp range and blur strength. Highlights affect the appearance of existing bright areas, while depth resolution changes the spatial analysis. After calculation, the original and result can be compared before a file is saved. The complete workflow therefore remains focused on one individual photo and its spatial appearance. The AI photo bokeh keeps the selected subject in focus while depth-based blur softens more distant parts of the scene.
The AI photo editing software is intended for existing images where the main subject should be separated more strongly from the surroundings. The same approach can be used for portraits, animals, plants, objects, and other subjects with recognizable spatial depth. The new version remains independent of the source file and can be exported as PNG, JPG, or WebP. This creates a second image alongside the original with a different background appearance. Several settings can be compared before saving without replacing the source photograph.